Based on a customer need, RKL worked through the process of extending Sage X3 to be accessible over the internet using an SSL certificate. The client wanted to be able to access Sage X3 without first attaching to their network. So we helped them purchase a website domain name they could use to access Sage X3 over the internet. A security risk is created when you do this, so we knew we needed to get an SSL certificate to encrypt the web traffic.
Port 8124 had to be opened in the firewall and forwarded to the internal Sage X3 web server
Download and install OpenSSL on the Sage X3 web server to generate a csr file:
Using the csr file you created, go to a Certificate Authority (GeoTrust, GoDaddy, Verisign, etc.) and purchase a public certificate.
Should generate as a crt file (certificate) and a pem file (key)
May need to convert the key file to pem format
openssl rsa -in yourdomain.key -outform PEM -out yourdomain_pem.key
If certificate is in der format, this will convert it to pem (Apache will require a pem format cert and key):
openssl x509 -in cert.crt -outform der -out cert.der
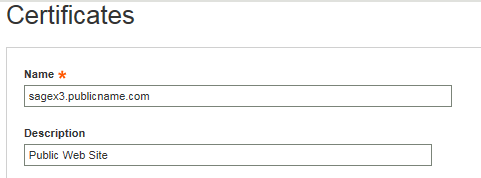
In Sage X3, go to Administration, Certificates and create a new certificate using the fqdn you generated the certificate for
Click Select file to load the crt certificate file and the pem private key file you generated earlier.
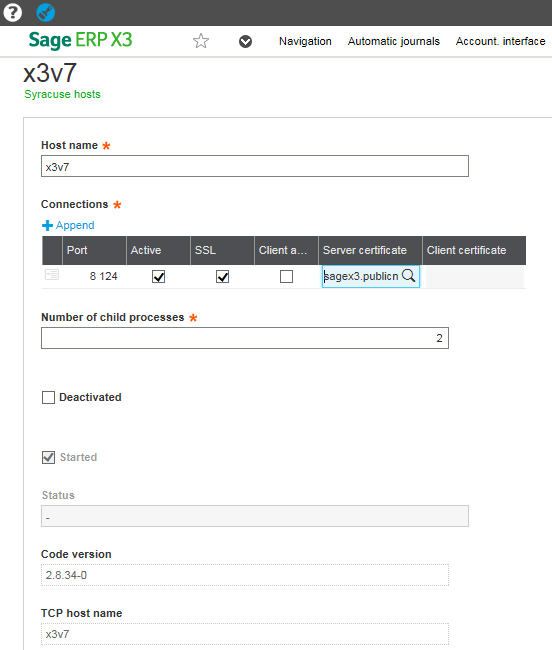
6. Once the certificate is created in Sage X3, go to the Hosts function in the Administration module and edit the existing host record
a. Check the box to use SSL and select the newly created certificate (shown below)
By following these steps, you can make Sage X3 securely accessible over the internet while protecting your data and minimizing risk. If you’d like help configuring SSL, hardening your environment, or need ongoing support for Sage X3, the RKL team is ready to assist with planning, implementation, and long-term support so you can focus on running your business with confidence.