It's that dreaded time of year again... closing the books during year-end. Instead of assuming you are good to go for 1099 and W2 printing because you were good to go last year, take 15 minutes sooner rather than later to double-check a few important things so you are ahead of the game.
4 Steps to Prepare for Year-End Closing in Sage 100
Make sure Aatrix is still installed
Aatrix is an installation that is kept on the computer and not the server. If you received a new computer or upgraded Sage 100 this year then you will need to install/re-install Aatrix eFiling and Reporting.
To verify that you have Aatrix eFiling and Reporting Installed:
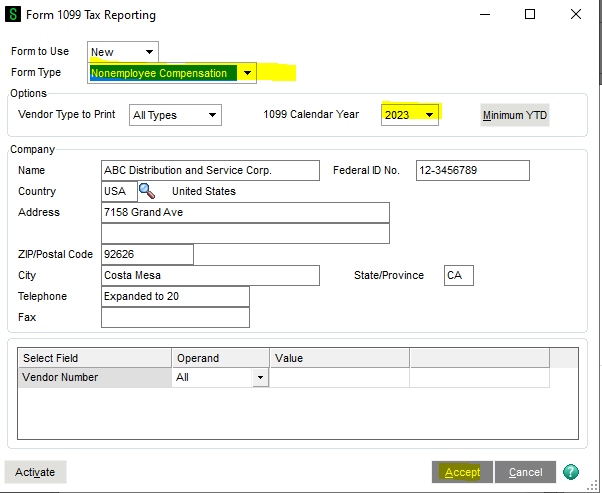
- Go to AP Module > Reports Menu > Form 1099 Tax Reporting
- Choose the Form Type and 1099 Calendar Year and then click on Accept.
- Form Type = "Nonemployee Compensation"
- 1099 Calendar Year = "2023"
Aatrix is Not Installed
If Aatrix is not installed on your computer, then you will see this message: "The eFiling and Reporting client needs to be installed. Do you want to proceed?"
Click Yes.
Now just because you've clicked on "yes" does not mean that Aatrix will automatically start installing. Before doing anything, make sure you have the proper access (Windows Administrative rights) to install software onto your computer. Then you can e-mail us at support@rklesolutions.com and we'll handle the rest of the installation.
make sure you still have permission to update Tax Forms
Once you've hit "Accept", the Forms Update box should pop up with the options "Automatic Update", "Download Update", "Continue Expired", and "Cancel".
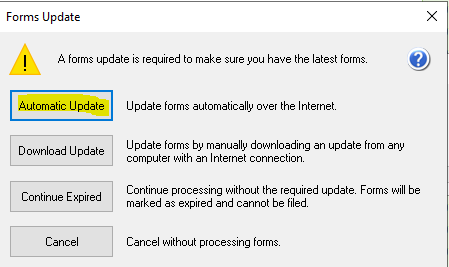
Click Automatic Update. This will update the forms automatically over the Internet.
Windows Administrator Log-in Prompt
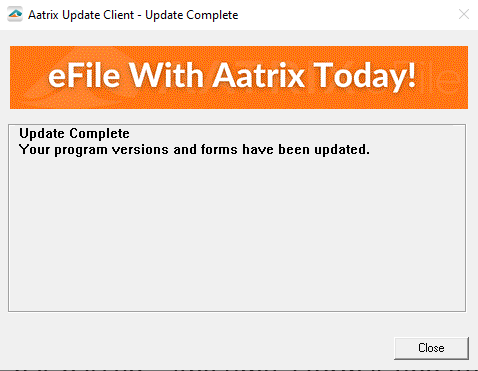
If you're prompted to enter a Windows Administrator Login then you'll need to contact your IT department so they can either give you the credentials or create a log-in for you if you do not have one. You should also ask your IT department if they can temporarily turn off UAC (User Account Control) until after 1099s and W2s are submitted. Any time any tax form is changed you will be prompted to update your system, which be prepared could happen every day in December or January. Make sure you can see the Update Complete message.
set the Current 1099 Year to 2023
Now that you have the correct permissions to update your tax forms, you need to make sure that the overall year is set to 2023 and that the 1099 form specifically is set to 2023.
To verify that the year is set to 2023:
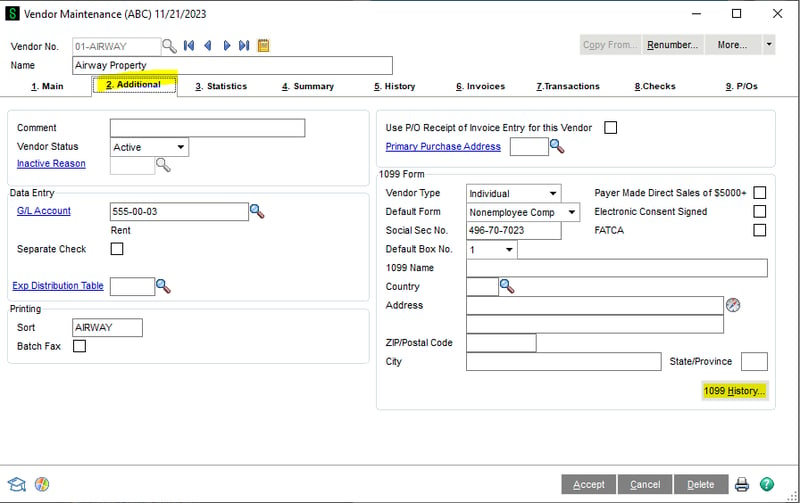
- Open Vendor Maintenance and choose a Vendor with a 1099.
- Open the 2. Additional Tab
- Click on the 1099 History button located in the bottom right-hand corner in the "1099 Form" section.
A "1099 Payment History" box will pop up. It will open to its defaulted year. If's not "2023" then make sure to change it. With the 1099 Form Type as "Nonemployee Comp", you should see the grid below filled with boxes ("1 Nonemployee comp", "4 Fed income tax", "5 State income tax", "7 State income", "6 State/Payer No.")

If you see an empty grid or a blank white area instead, this indicates you need further help with setup. Please e-mail us at support@rklesolutions.com for assistance.
Create a Custom Lookup to view your 1099 Vendors
A great task to put on your year-end checklist is to check your data for any missing criteria. You can do this by creating a list of all your 1099 vendors for the current year through a custom lookup in Vendor Maintenance.
To create a custom lookup view to see your 1099 vendors:
- Sort by LastPaymentDate to identify the vendors with activity in 2023.
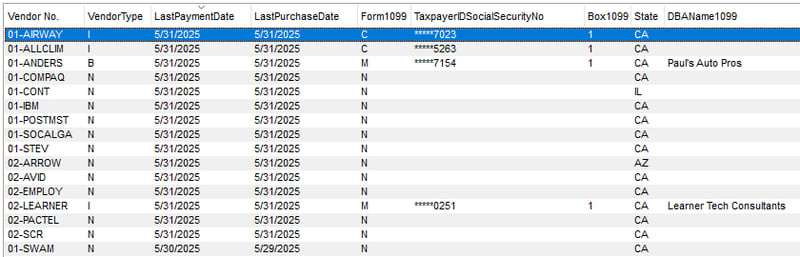
Now you can start reviewing your data and identifying the vendors with missing Tax IDs, verifying the Vendor Types and Correct Box Numbers, and adding Vendors that you know had activity within the current year and aren't on the list.